bathroom cleaning

Slate Bathroom Tile Renovation Bermondsey

Green Slate Bathroom Tile Refurbished in Bermondsey SE16

This customer from Bermondsey SE16, was having a new shower tray fitted after discovering a leak. He wanted to know if his Green Slate tiles could be spruced up rather than having to pay out for new tiles and the tiling. The property was a basement flat in a warehouse conversion and with only one bathroom in the property a full bathroom rip out would have been very inconvenient.
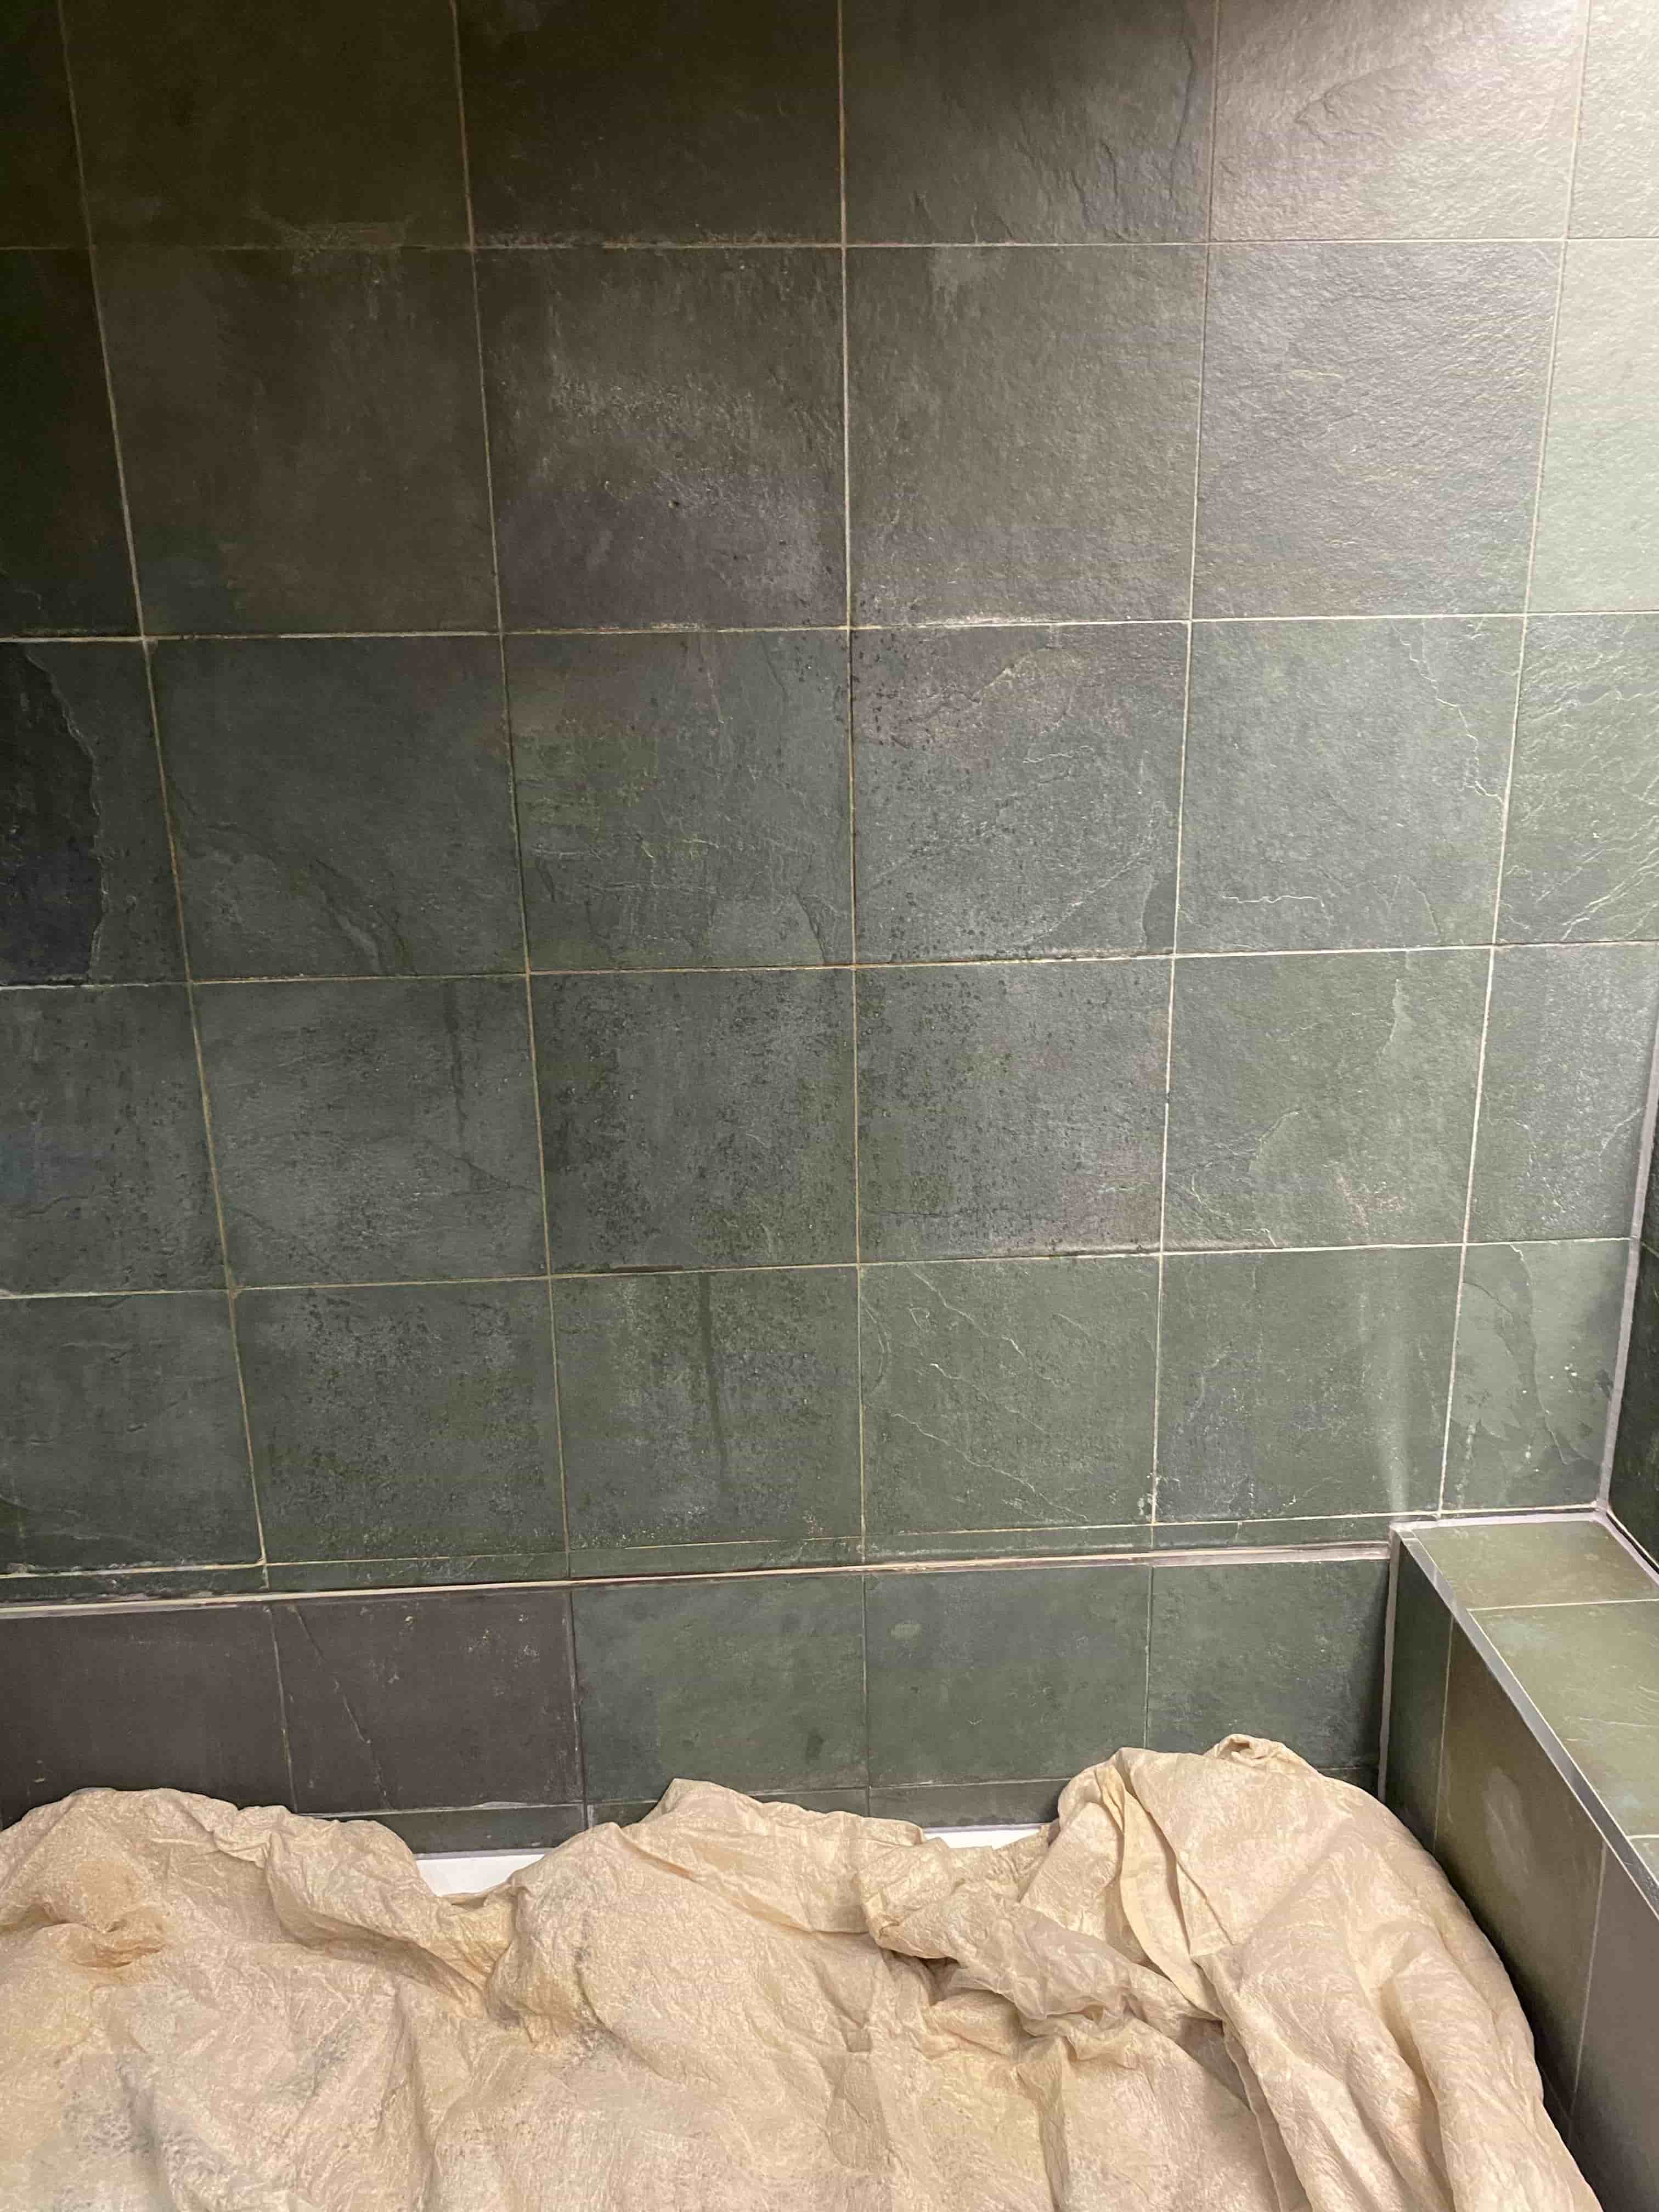
Slate Bathroom Tile Before Refurbishment Bermondsey

The main issue with the tiling which included the wall and floor was they had a lot of white marks on them. My client thought it was limescale, but he couldn’t remove the staining and hence contacted Tile Doctor. After taking a look at the Slate I informed him that the White marks were in fact what was left of an old topical sealer! It seems over years it had broken down and water had penetrated it turning it white.
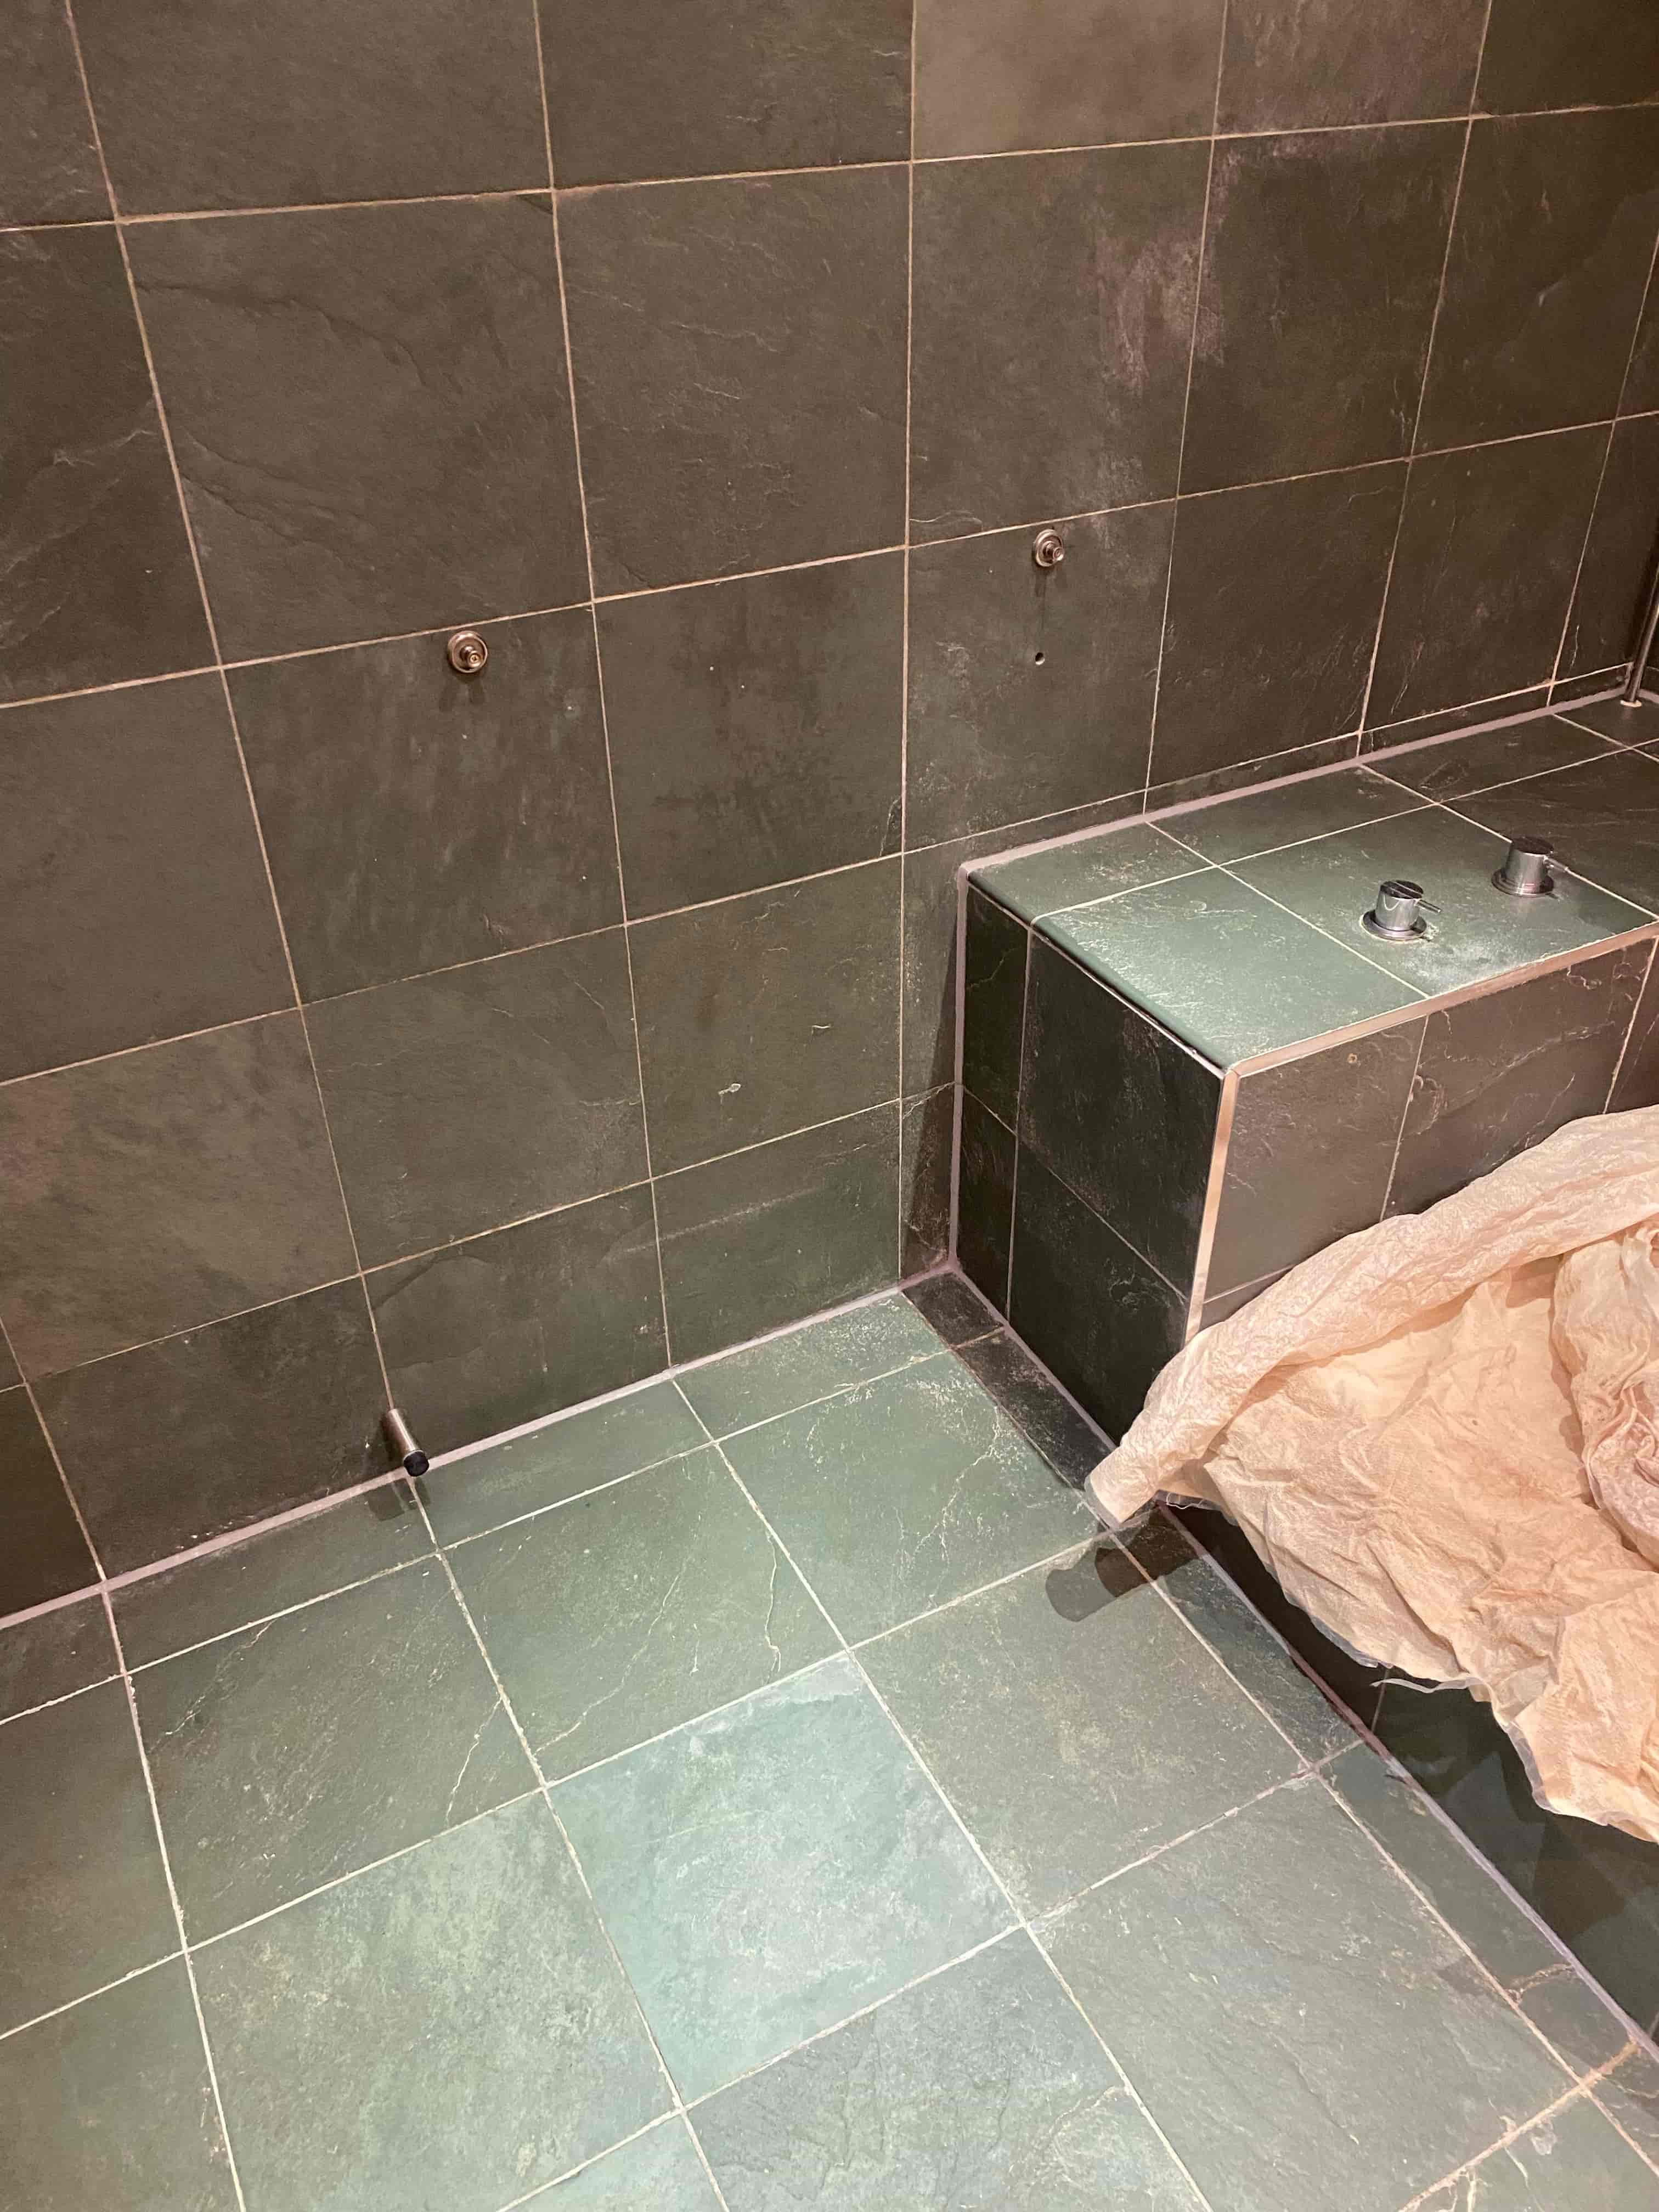
Slate Bathroom Tile Before Refurbishment Bermondsey Slate Bathroom Tile Before Refurbishment Bermondsey

Removing White Stains from a Green Slate Tiled Bathroom

To begin I applied Tile Doctor Nanotech HBU Remover to the walls and floors, this is a heavy build up remover (HBU) used to remove stains and waxes. The product is quite thick which helps it stick to walls without running off. Its essential to give it a long dwell time so it can get to work breaking down the old sealer. In this case I left it for 45 minutes before scrubbing it into the tile.

Before rinsing I also applied Tile Doctor Remove & Go on top of the Nanotech as this is multi-purpose coatings stripper which removes old sealers. The Nanotech had softened and started to break up the old sealer, and I was using Remove & Go to get into the old sealer and lift it off completely, which it did.

I used a wet vacuum to pick up the soiled solution and then I a steam cleaner to rinse the tiles. I use steam for two reasons, firstly as I want to seal the tiles on the same day rinsing this way doesn’t soak the tiles. Secondly any remaining old sealer gets lifted out by the steam.
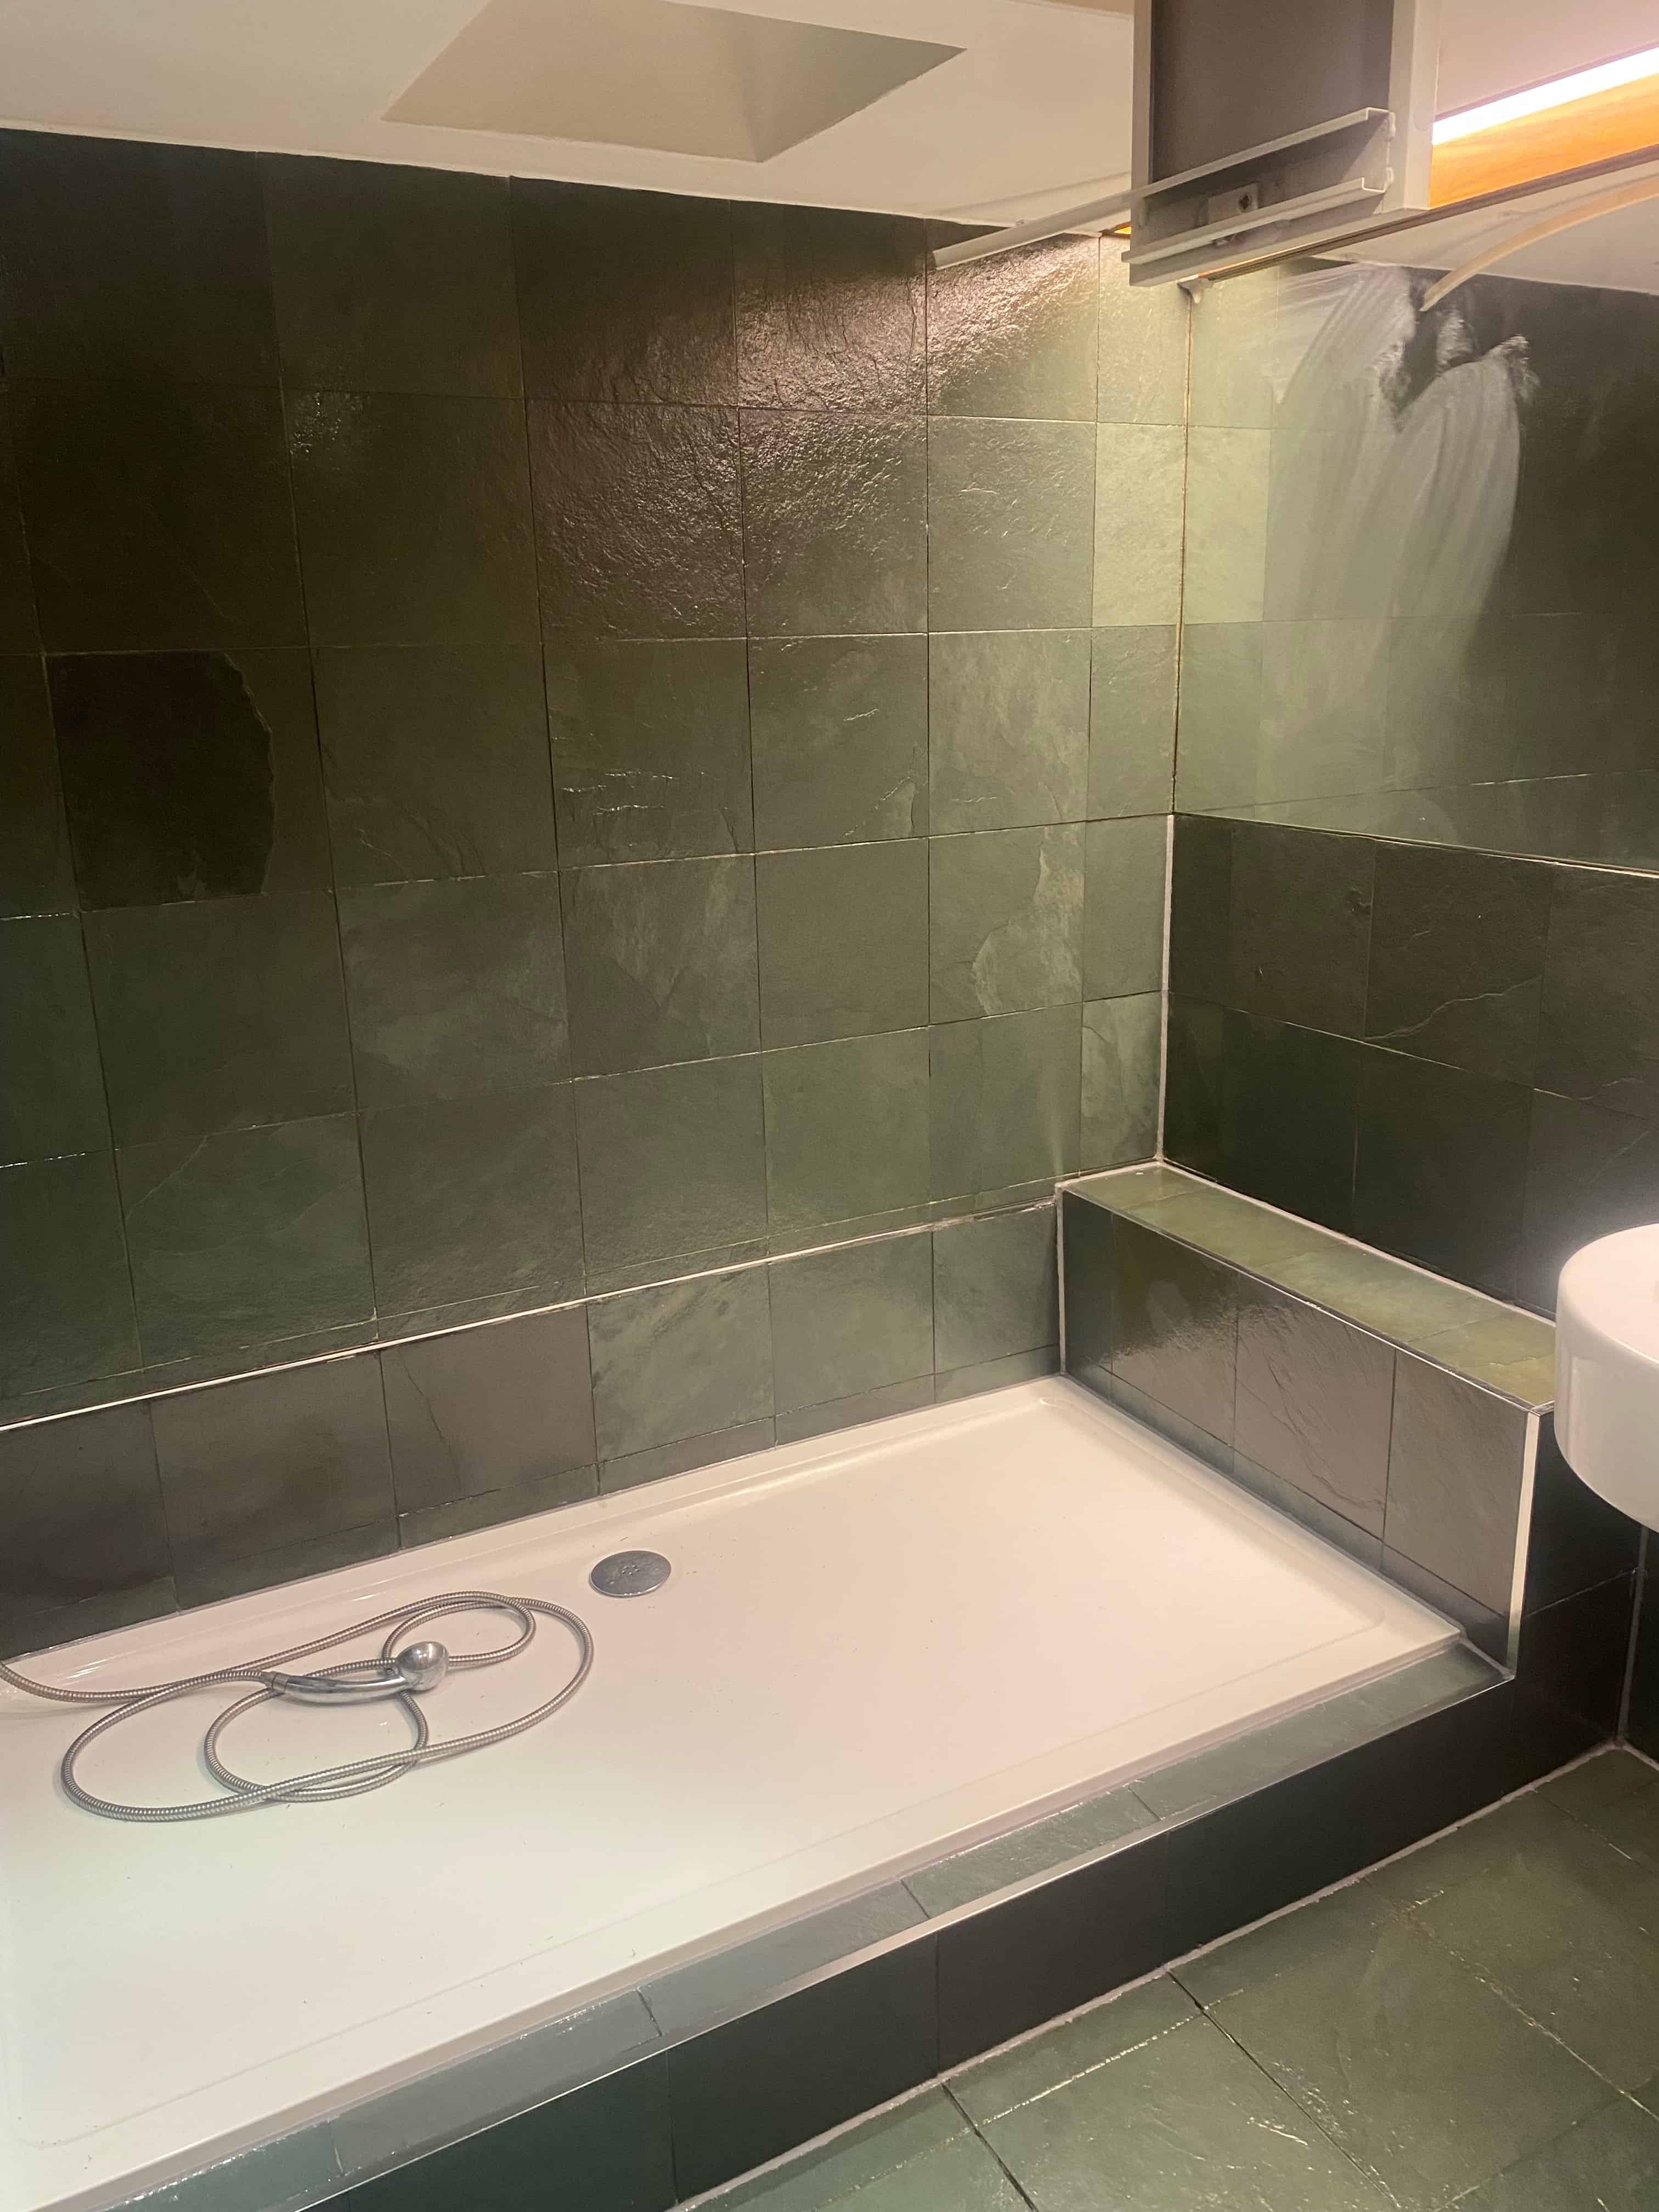
Slate Bathroom Tile During Refurbishment Bermondsey

Sealing Green Slate Bathroom Tiles

Later that day the Slate tile was dry and ready for sealing. I first applied Tile Doctor Colour Grow, which is a colour enhancing impregnating sealer that penetrates the pores of the Slate and protects from within. The sealer is applied with a cloth and worked into the stone, wiping off the excess and then leaving to dry for 30 minutes.

Once dry I then applied a coat of Tile Doctor Stone Oil, again this enhances the colour, but being an oil also improves the mechanical strength of the stone. This was left to dry, for another 30 minutes plus before applying another coat of Colour Grow. I always finish with a sealer as this helps to lock-in the oil.

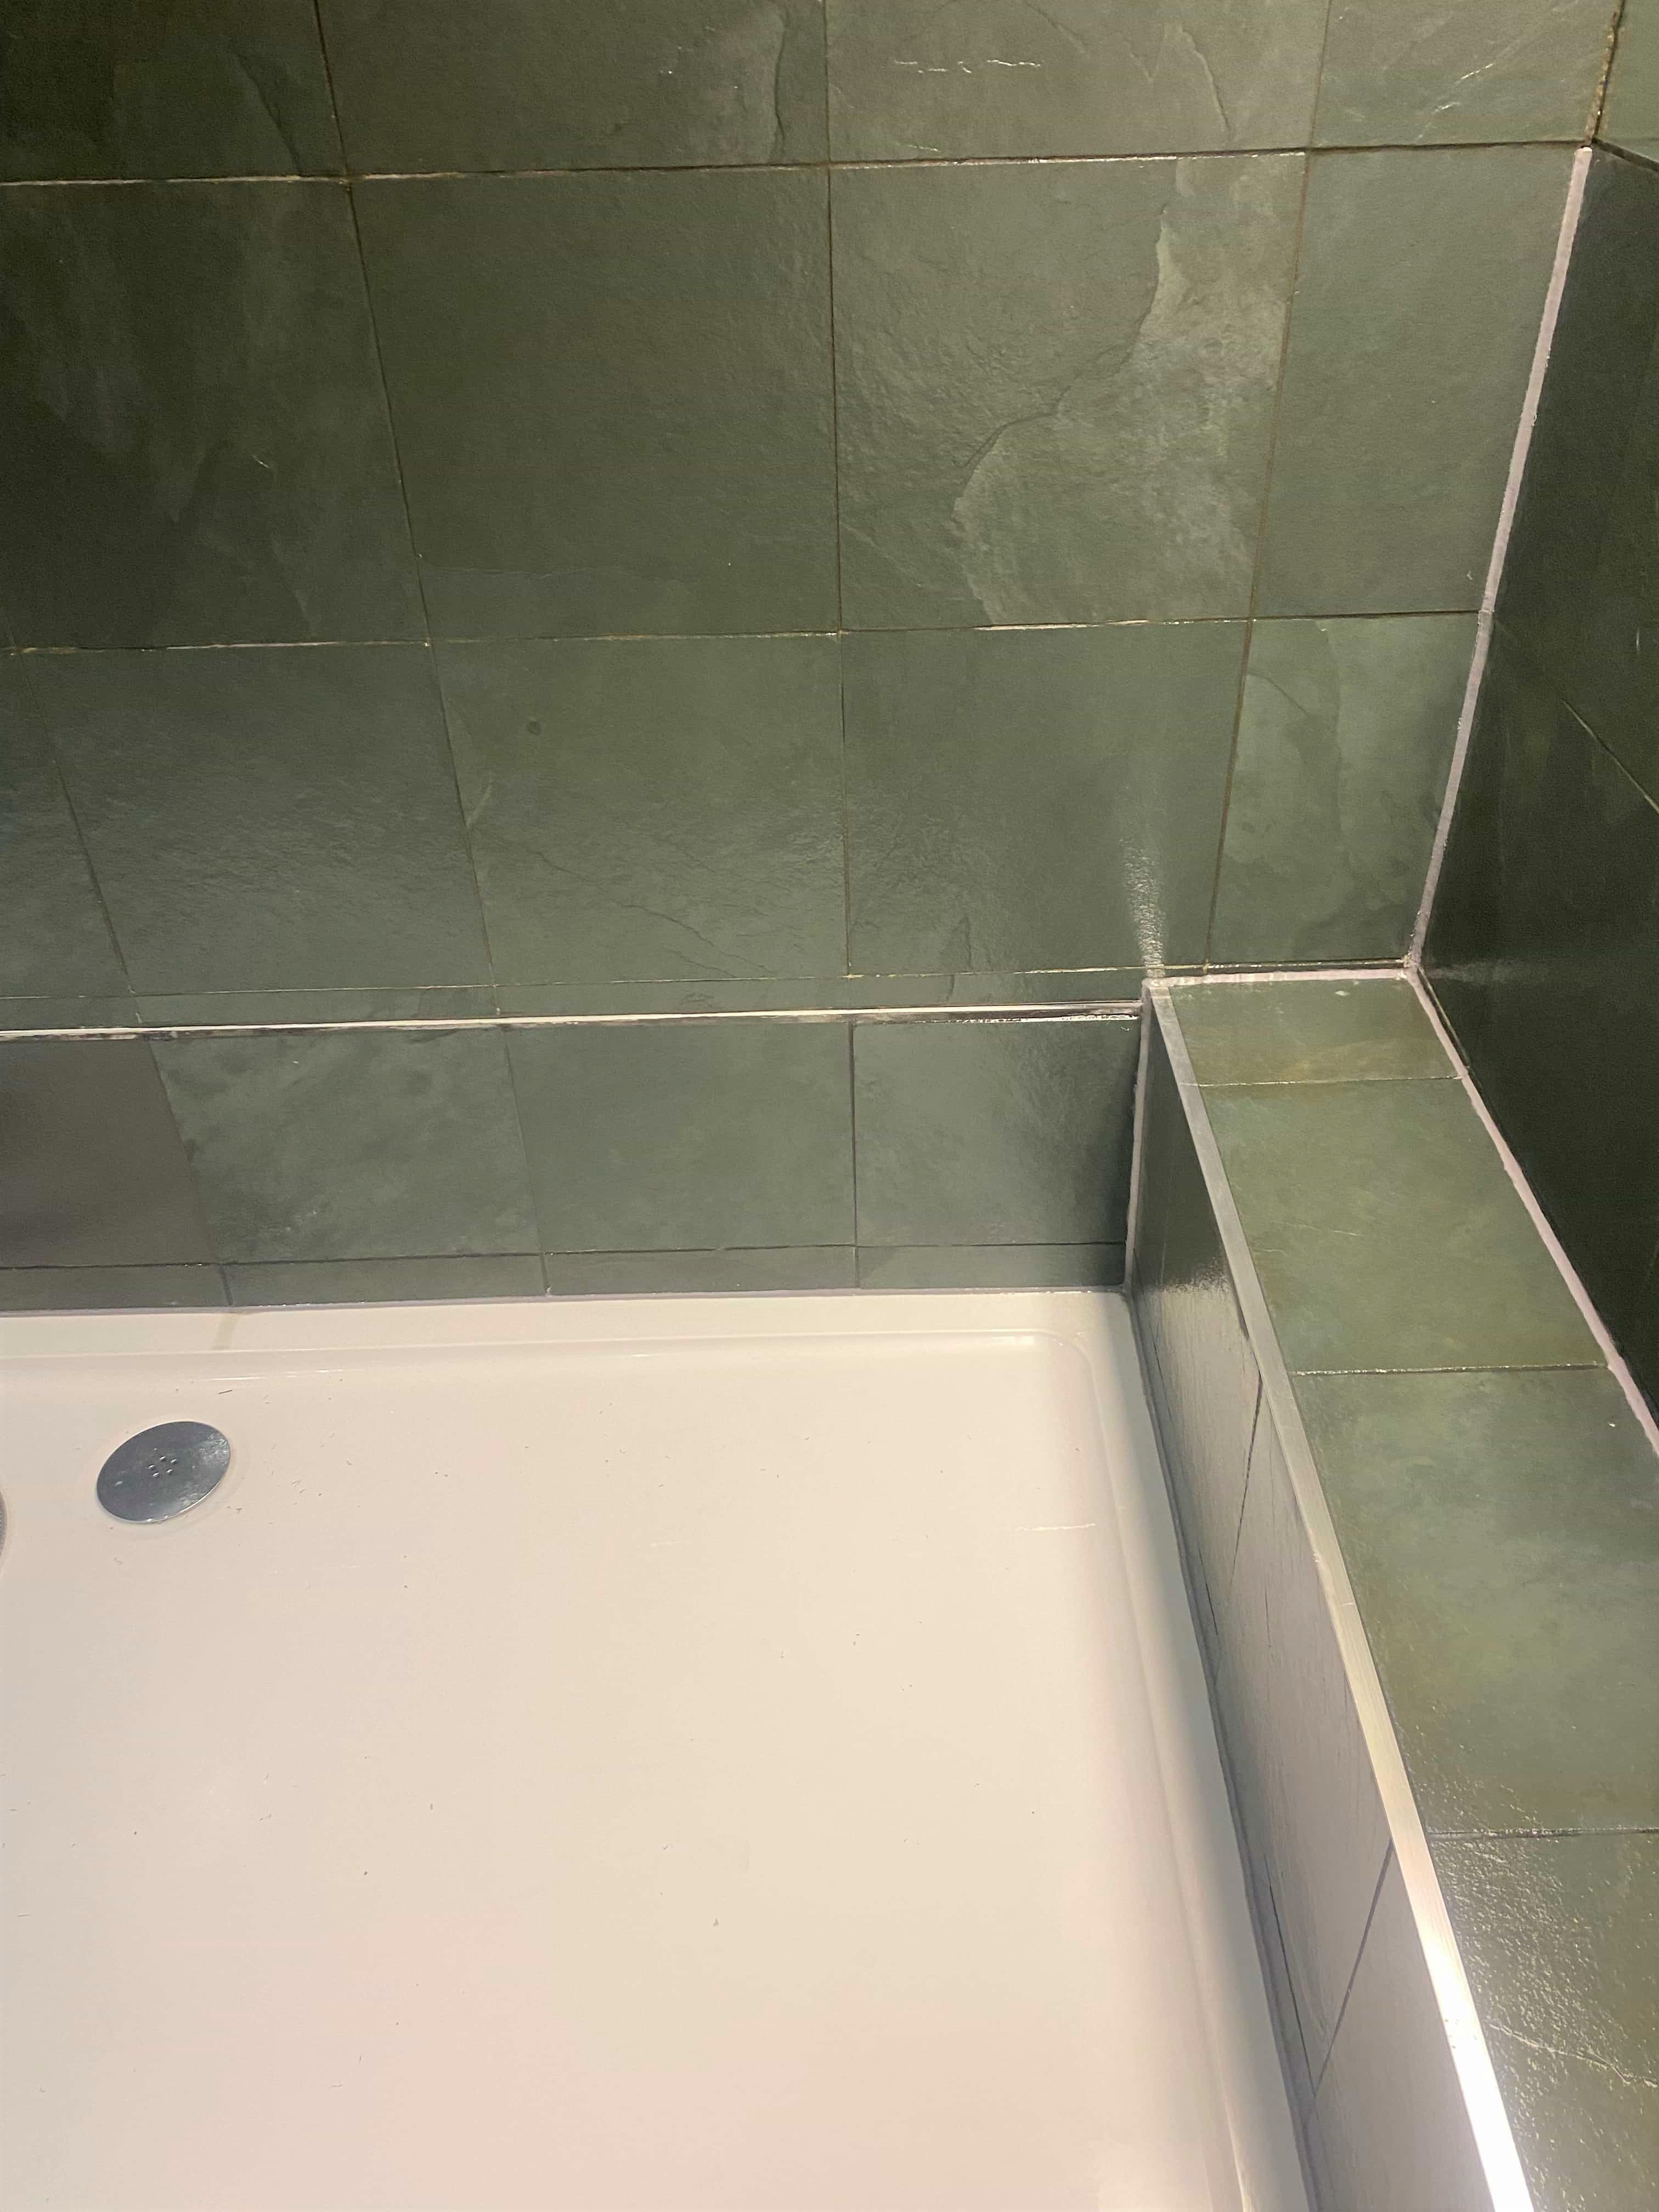
Slate Bathroom Tile After Refurbishment Bermondsey

My customer was very happy with the results and relieved to avoid the expense and inconvenience of having to retile the bathroom. Thankfully that is no longer the case, and the Slate has become a real feature of the bathroom.
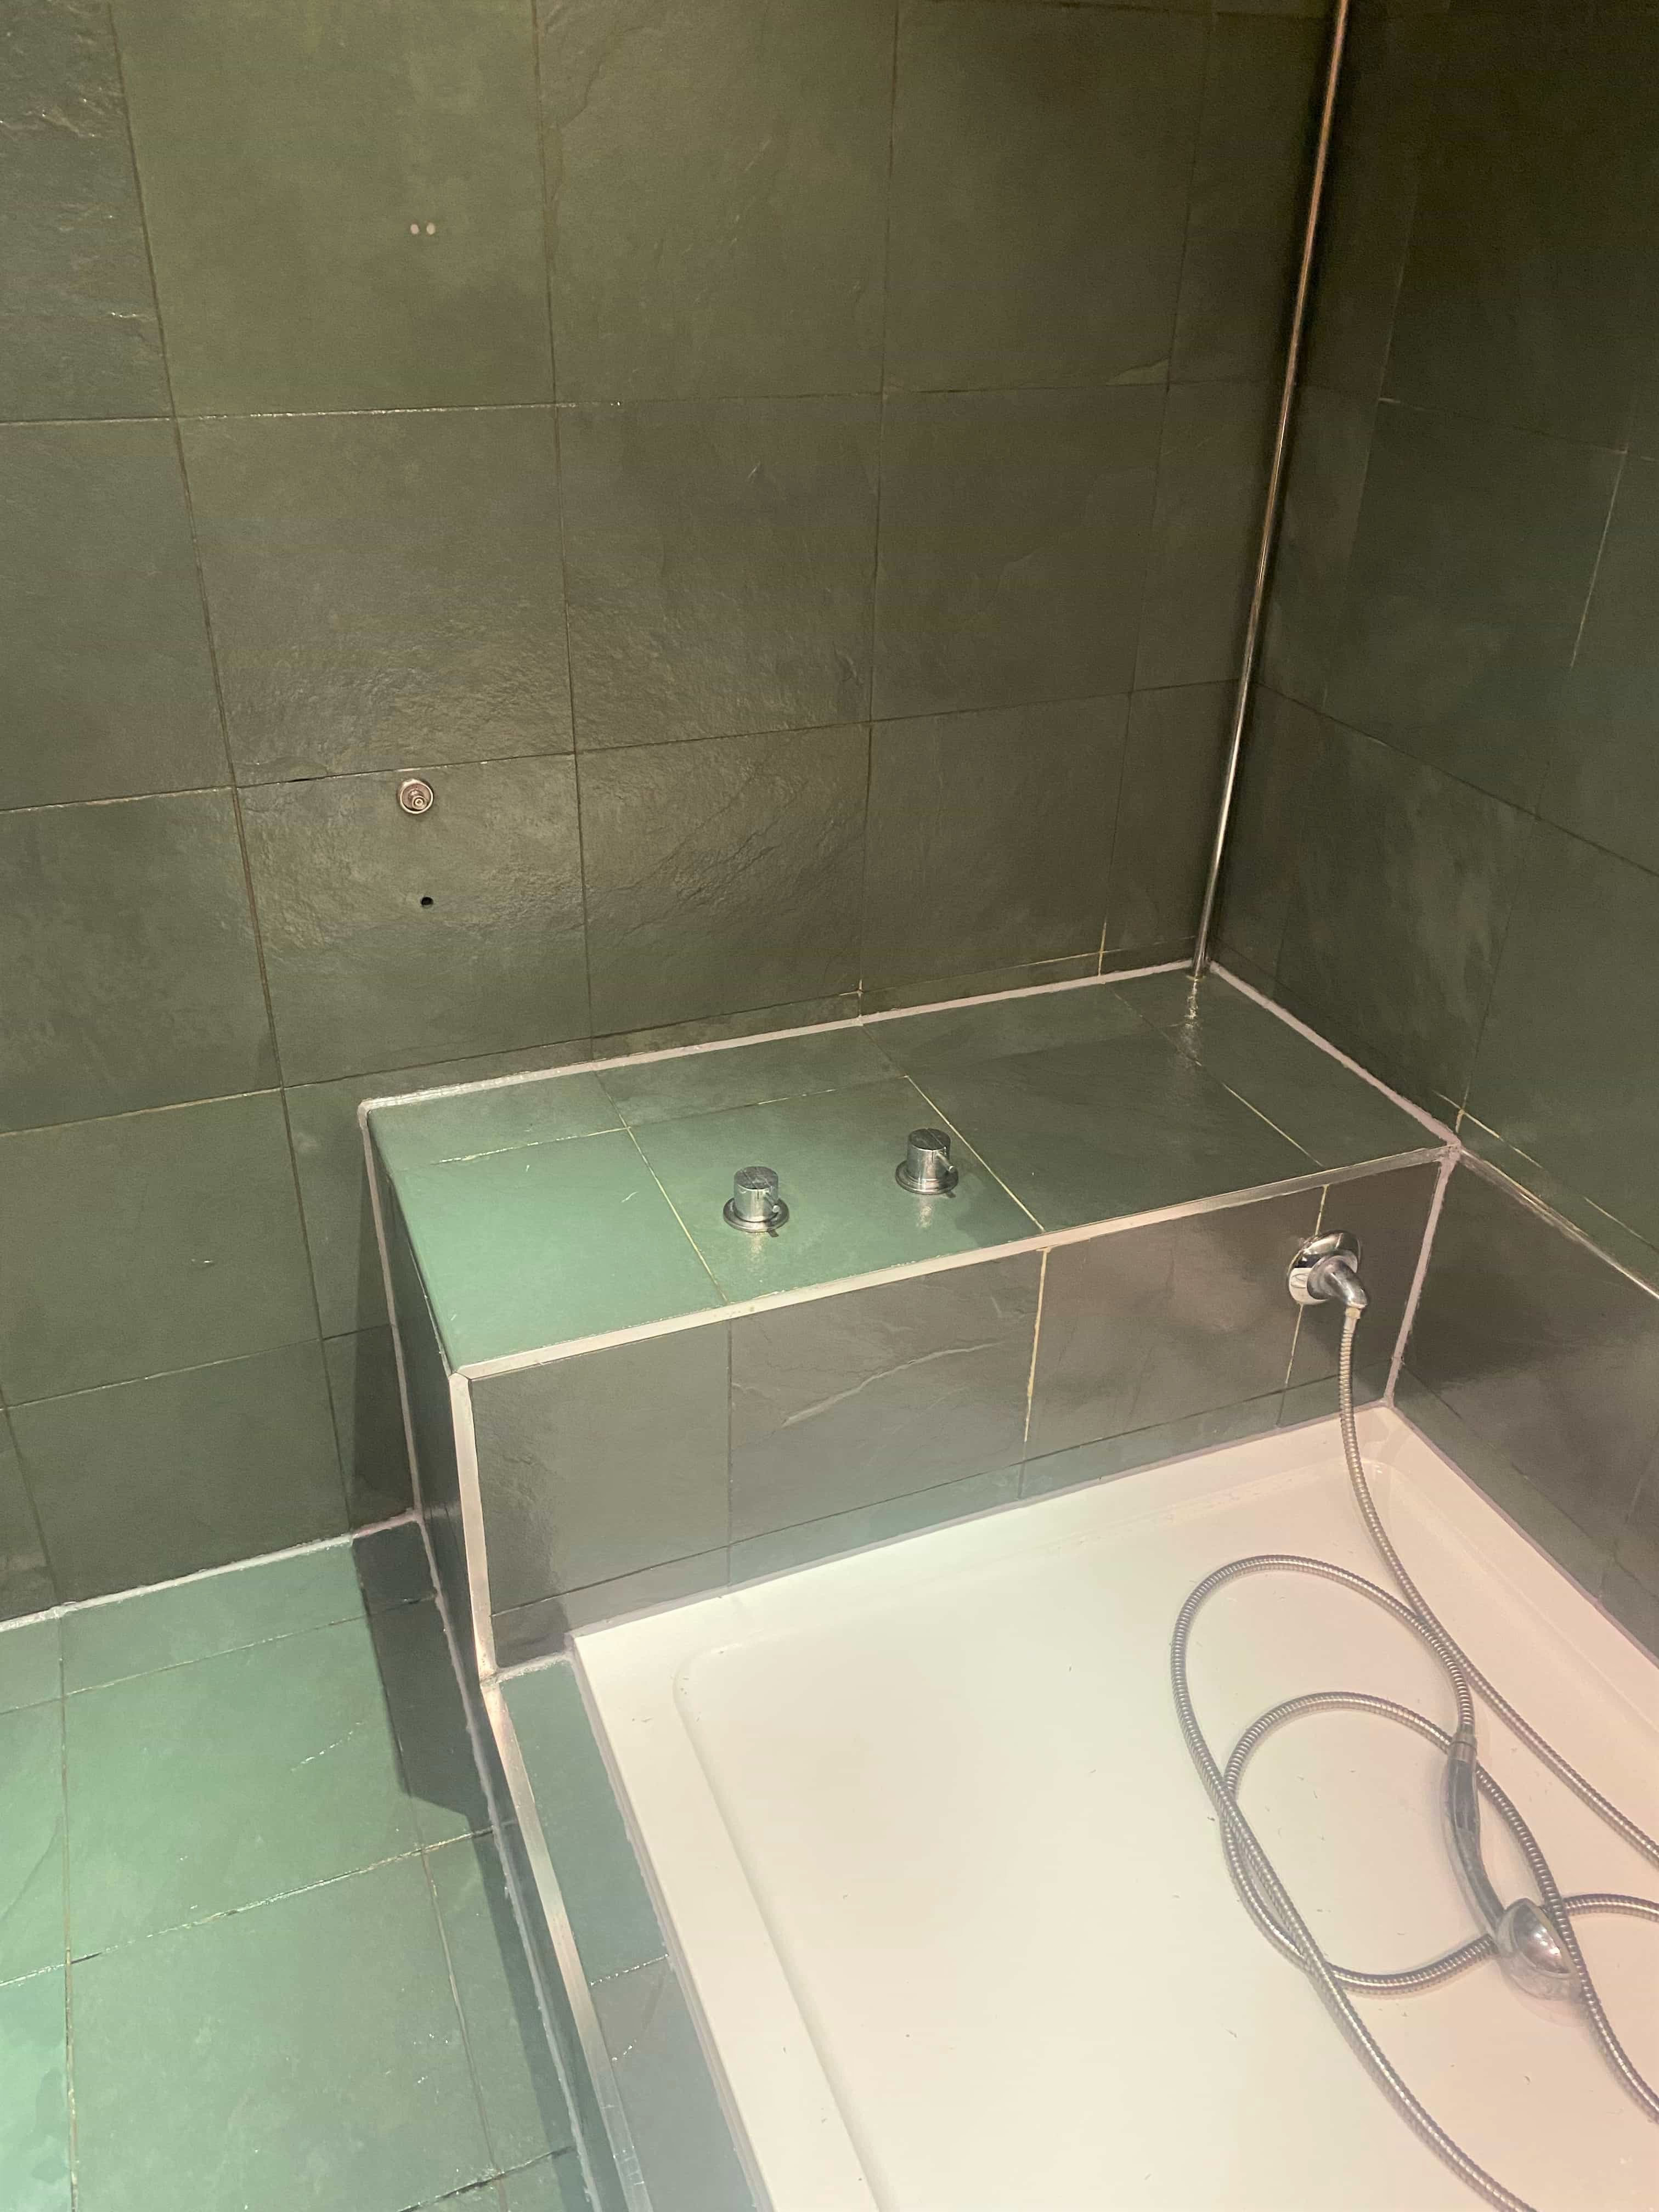
Slate Bathroom Tile After Refurbishment Bermondsey Slate Bathroom Tile After Refurbishment Bermondsey

For aftercare of shower tiles, especially stone I recommend regularly spraying on a product called Tile Doctor Aqua-Pro which is a mild cleaner designed for use where the tiling has been sealed. A lot of tile cleaning products you find are simply too strong for use on sealed surfaces and can slowly erode the sealer over time.


Professional Slate Tile Restoration in a South London Wet Bathroom

Green Slate Bathroom Tile Refurbished in Bermondsey SE16 Read More »

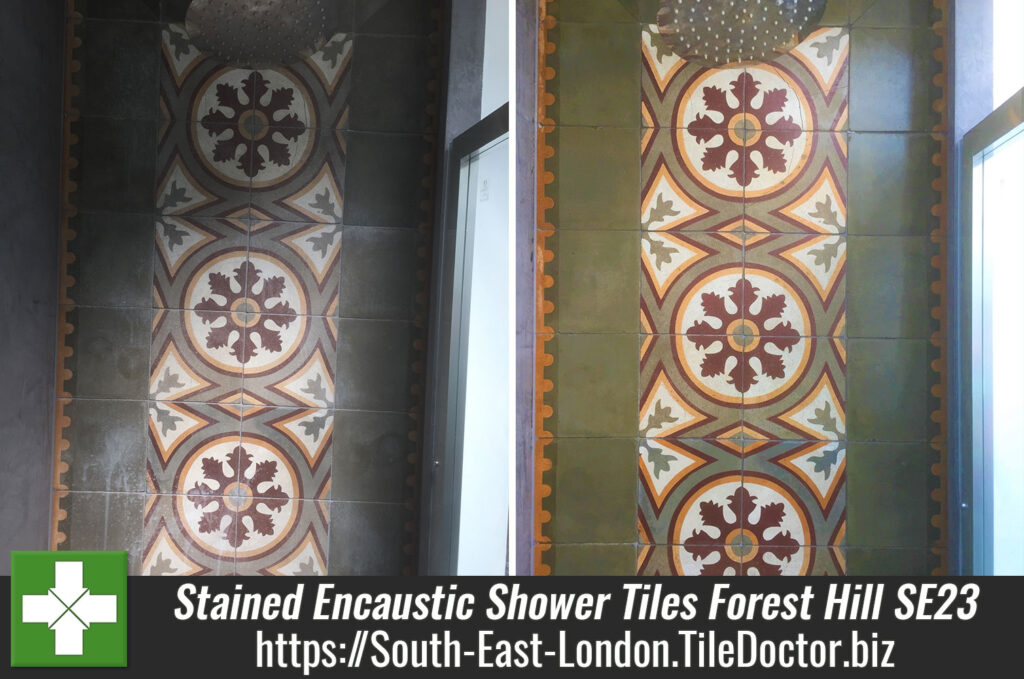
Stained Encaustic Shower Tiles Renovated in Forest Hill SE23

Stained Encaustic Shower Tiles Renovated in Forest Hill SE23

The client had recently moved into this property in Forest Hill SE23 and the previous owner had used a professional cleaning company to give the house a thorough clean prior to moving out. Unfortunately, they had used an aggressive acid based cleaner on the reclaimed encaustic tiles around the shower, causing white staining. I was contacted to see if it was possible to remove the stains and correctly seal the tiles to protect them.

Encaustic Shower Tiles Before Renovation SE23

I was pleased to tell them it was indeed possible to restore the tiles and we discussed how I would do this. I gave them my quote which they accepted, and we arranged a mutually convenient time to carry out the work. Encaustic tiles are quite unusual they were traditionally made from clay, but today, most modern versions of the tile are made using cement and are often referred to simply as cement tiles.

Cleaning and Restoring an Encaustic Tiled Shower

The first step was to scrub the tiles with a dilution of Tile Doctor Pro-Clean, an alkaline cleaner that is safe to use on Encaustics. The solution was scrubbed into the tile to ensure any remaining soap scum and surface grime was removed. Once done the tiles were rinsed off with water and I moved onto the next of renovating the appearance of the tiles with a set of handheld burnishing pads.

These pads are made from industrial diamonds that clean and remove scratches renovating the surface and closing the pores of the stone. For general cleaning and honing I would normally start with a 400-grit, but with the staining on these tiles, I started with the 200-grit. Once I had gone over all the tiles with the 200-grit pad with water, I then repeated the process with the 400, 800 and 1500 and 3000 pads in sequence. The tiles were rinsed off after each pad and finally left to dry.

Sealing an Encaustic Tiled Shower

Once the tiles had dried it was time to apply a sealer that would further enhance their appearance and protect them. For this I chose to use Tile Doctor Colour Grow as it’s an impregnating, colour enhancing product. It works by soaking into the pores of the tile where dirt can collect, thus protecting it from within.

The sealer was applied thinly with a cloth to all the tiles and allowed to dry for 30 minutes before the next coat was applied. Due to the porosity of these tiles, I applied four coats until I was satisfied, they were fully sealed. Once the tiles were dry, I buffed them with a dry 3000 burnishing pad to leave them with an appealing satin sheen.

Encaustic Shower Tiles After Renovation SE23

The client was pleased with the result and I explained the best way to clean and maintain the tiles for the future would be to use Tile Doctor Aqua-Pro which is designed for use in bathrooms and gentle enough to use every day. They needed to avoid using strong household cleaners on these tiles otherwise the same issue would occur.


Professional Renovation of Encaustic Shower Tiling in Kent

Stained Encaustic Shower Tiles Renovated in Forest Hill SE23 Read More »

Scroll to Top